The 6 Stitches Of Embroidery For Beginners

We’ll go through some beginner-friendly embroidery stitches with you today. This is the place to go if you’ve ever wanted to learn what embroidery is or how to do it.
In essence, embroidery is a form of fibre art. Using thread and a needle, you may create any kind of design you choose, including lovely forms, figures, flowers, and characters. It is a really calming and imaginative pastime. You can stitch it in pieces, add to it whenever you have time, and even carry your embroidery project with you.
Any novice should be familiar with the fundamental stitches listed below. You can either try to create your own design using them in your project in accordance with the stitch guide provided in my embroidery kits and patterns.

Back Stitch
For text or to outline a design, the back stitch produces a firm line that is suitable. Start by bringing the needle through the fabric, then make one forward stitch. Before making the next stitch, spread the needle out to the desired stitch length, pull up through the material, and then bring the needle back down through the last stitch’s end.
Split Stitch
Create a basic stitch first, and then raise your needle through the middle of that stitch. Bring your needle down from the middle of the previous stitch, then back up, for the subsequent stitches. Use tight spacing for text so you can embroider curved characters with ease.
Running Stitch
This stitch is simple. Take a space after your previous stitch and insert your needle up and down once more.
French Knot
A little flower or adornment, this is a sweet little dot. Bring your needle up, maintain the tension of the thread with your left hand (if you are a right-handed person), and wind the thread at least twice around the needle. This will stop the thread from unravelling. Bring your needle back down very close to the exit point at this moment.
Satin Stitch
Shape filling is accomplished with this stitch. The needle should be raised from one side of the shape’s outline and then lowered from the opposite side. When embroidering a leaf, begin by stitching a little line from the top point to the centre, and then begin filling in the shape. Overlap that tiny stitch as you work, but leave just enough of it exposed so that your leaf will appear pointed.
Chain Stitch
Bring your needle up, close to the exit point, and then lower it again, leaving an inch of thread hanging loose. Bring your needle up to the point where the petal’s tip will be, pass through the loop you made, and then bring it down very close to the loop’s exit point on the other side. Repeat the previous steps to create a chain stitch, each ending serves as the beginning of a new chain.
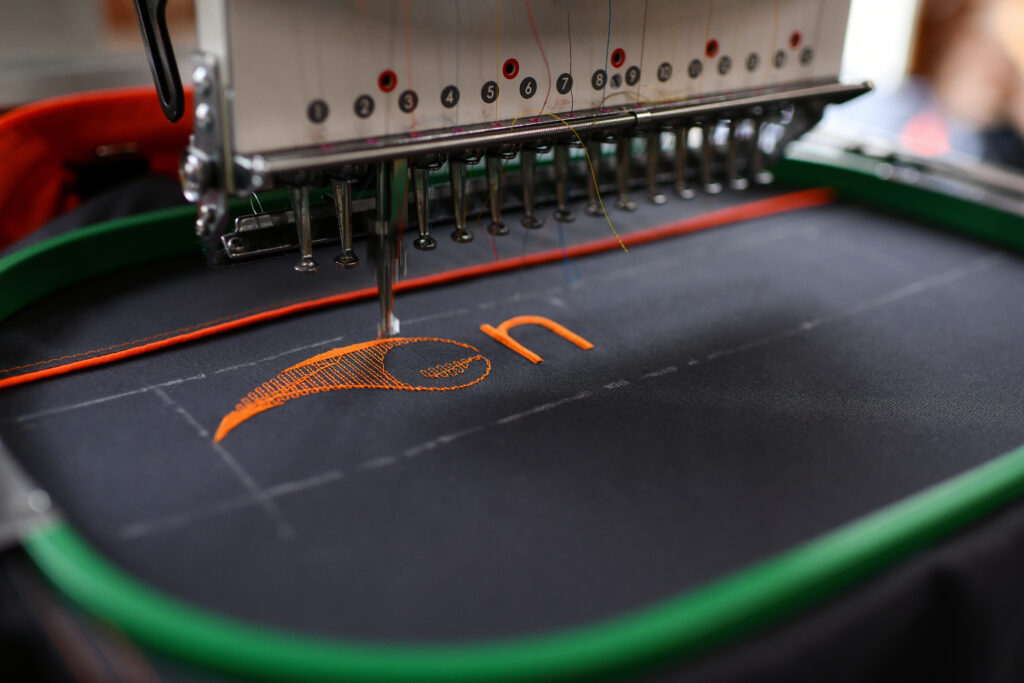
What Needles Do I Need?
Any needle will work to draw a thread through fabric, although some are more effective than others. For beginners, using the proper needle will not only make stitching less frustrating, but it will also almost certainly produce superior results. These are the three that we advise beginning with to cover all of your bases; many of them are available in assortment packages, allowing you to choose from a variety of sizes so you may experiment with each to determine which you like.
Crewel Needle
The crewel needle is a needle with a sharp tip and a medium-long eye that is somewhat bigger than the needle shaft. It serves as the foundation for hand embroidery. Sizes 1 through 12 of crewel needles are available, with size 1 being the largest and number 12 being the smallest.
Tapestry Needle
Compared to a crewel needle, the tapestry needle has a shorter shaft, but a considerably longer eye and a blunt point. Because the blunt tip does not pierce the ground fabric and instead enables the needle to enter easily into the open spaces inside the weave, it is frequently used in counted cross stitch and needlepoint. The blunt tip prevents the needle from snagging other stitches, which makes it perfect for surface embroidery that requires whipping or lacing.
Sizes 13 through 28 of tapestry needles are available, with 13 being the largest and 28 being incredibly fine. As you might expect, petites are much shorter than normal length tapestry needles, allowing the stitcher to make the most of their embroidery thread. Tapestry needles are also available in standard and petite lengths.
Milliner Needle
The milliner needle, also known as the straw needle, has a very long shaft, a short, nearly circular eye, and a sharp point. Given that the eye and shaft are the same size, working wrapped stitches like bullion knots, French knots, or cast-on stitches is a breeze.
For Embroidery in Norwich, Call EPIC Embroidery & Print
Should you be in search of Embroidery Norwich to take care of your embroidery work, then be sure to give our team a call. We’re proud to offer embroidery services across the local area, so no matter your needs and requirements we’re more than confident in saying that we can help.
As well as providing embroidery services we also offer workwear and sportswear embroidery to our customers throughout Norwich.
Speak to our team today to find out more about our embroidery work and how we can take care of your needs. We even offer FREE quotes!